Inventory Adjustments
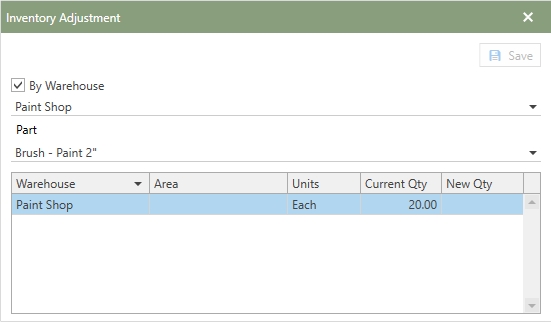
The Inventory Adjustment Tool is designed to give users the ability to select a part and update inventory in a single window. Adjustments through the tool are one part at a time, simply select the part and enter the new quantity. All adjustments are written to the Parts Audit section to assist in tracking inventory. The example image below displays the tool with a part selected, follow the steps to adjust inventory.
1.Open the Inventory Adjustment Tool by selecting the icon from the Tools drop-down.
2.The By Warehouse check-box gives a user the option to choose the Warehouse first. Click the the down arrow to produce the list of Warehouses. If a Warehouse is selected, the Part list drop-down will only display the available parts in the selected Warehouse. Leaving By Warehouse unchecked will produce the entire part list.
3.Next, click the drop-down arrow for the Part field and a grid will display all the of the parts to choose from. Each column on the grid can be sorted and filtered to make it easier to locate the part. Refer to the Grid Searching and Grid Filtering help topics to read more about using the Antero grids.
4.Select the part to apply adjustment for inventory. The image above shows an example of the grid populating after the part has been selected.
5.Next, click in New QTY field and type the new value in the field.
6.If everything is correct, choose the  option and the tool will confirm that the adjustment was made.