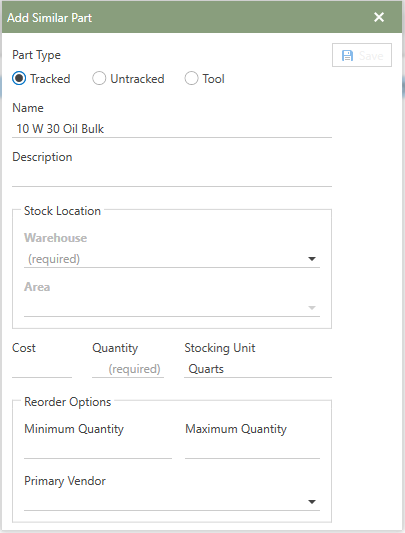
To add a part, follow the steps below:
1.In the Part sections grid click the  [add]. [add].
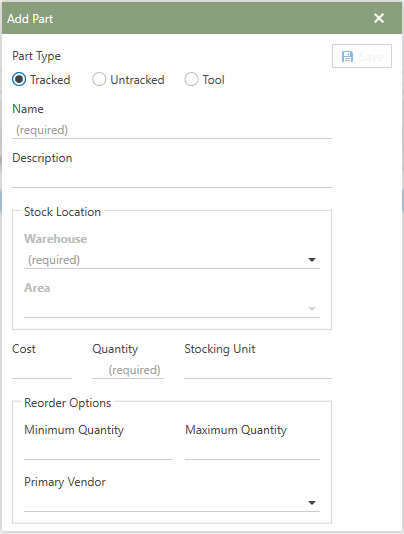
2.The Add Part window will open in front of the Parts section.

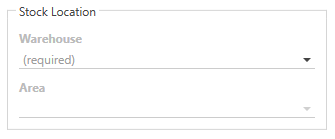
3.Under the Part Type heading, choose whether the new part will be Tracked, Untracked, or a Tool. 4.Enter the Parts name in the Name field (required) and a part description in the Description field (optional). 5.Next, under the Stock Location heading, type in the field or choose from the drop-down menu the Warehouse and Area where the parts stock location will be. 
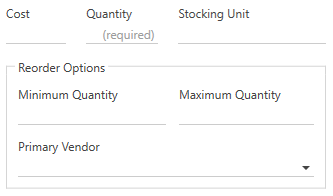
6.Then, enter the Cost, Quantity, Stocking Unit, Minimum Quantity, and Maximum Quantity and choose the Primary Vendor from the drop-down list.

7.Lastly, click the  button to save the newly added part to the database. button to save the newly added part to the database. 8.The newly created Part can now be found in the Parts grid. 9.Additional information can be entered or chosen in the Part Detail Panels categories.
*See the Help Files Detail Panel subsections for further details on adding additional Equipment information.
|


 button to save the newly added part to the database.
